Creating and Applying Azure Security Policies
Creating and applying Azure security policies can be accomplished pretty quickly utilizing Visual Studio (2015/2017/Code). The following example will create an Azure Security Policy to block the creation of resources without a tag of Department.
Create the Azure Security Policy Definition
- Open Visual Studio and create and new JSON file
- Once the file is open, you can provide the schema path to provide intellisense for editing the JSON file:
- http://schema.management.azure.com/schemas/2015-10-01-preview/policyDefinition.json
- Copy the snippet below to Visual Studio and save the file as DepartmentPolicyDefinition.json
Here is a quick video to show you the steps to create the JSON file in Visual Studio 2017:
Assign the Azure Security Policy
Once the JSON file is created, you will need to switch to PowerShell to create the policy definition in Azure and then assign it to our subscription.
First step is to login to our Azure Account:
Afterwards we will need to select the appropriate subscription, create the azure security policy definition and then apply to our subscription.
If you do not wish to make your policy subscription wide, you can apply it to a specific resource group.
View the Azure Security Policy
Verify your Azure security policy definition by utilizing the following command:
Verify the Azure security policy assignment:
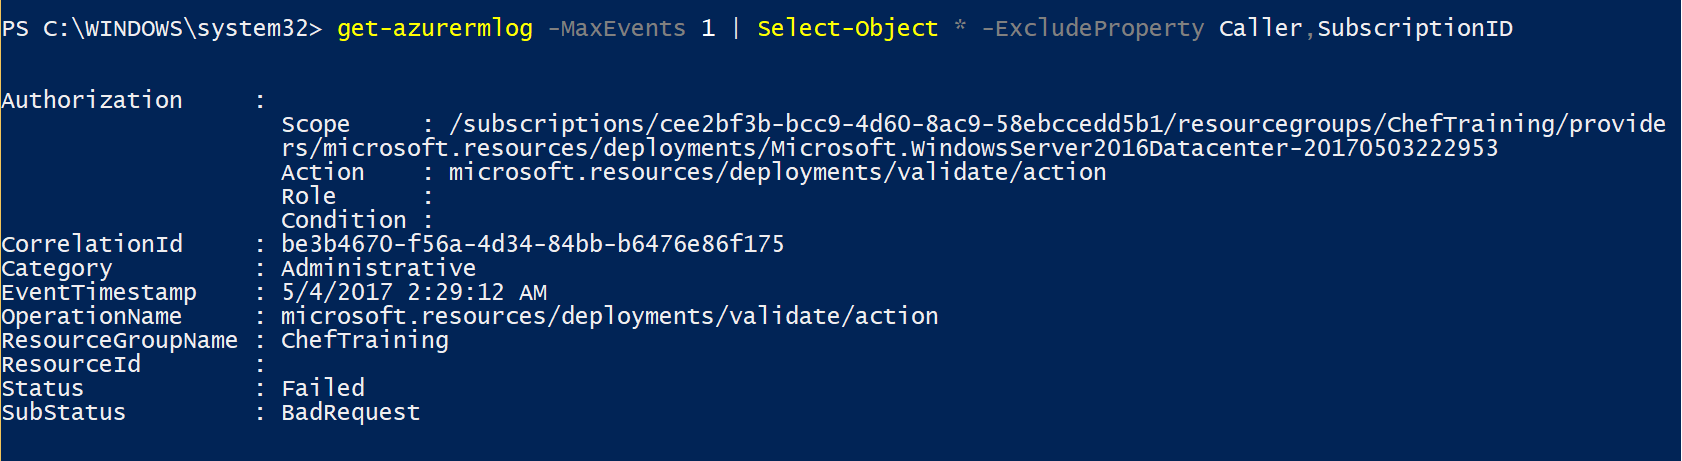
Check the logs
The Get-AzureRMLog will contain successful or failed messages about the Azure security policy. Here is an example of a deny when creating a VM: