
Azure Site to Site VPN with Cisco Meraki vMX100
The Cisco Meraki virtual MX can extend your physical MX deployment to Microsoft Azure in less than an hour through the same Meraki dashboard. vMx100 with Auto VPN can easily connect your network with Azure.
Cisco Meraki’s virtual MX extends your physical MX deployment in minutes through the same Meraki dashboard. vMX100 can be used as your SD-WAN and Auto VPN node to easily connect your network with your Azure deployed services. Leveraging the power of the cloud, Cisco Meraki’s virtual MX can configure, monitor, and maintain your VPN so you don’t have to.
Meraki dashboard steps
- Log in to the Cisco Meraki dashboard
- Click on your current network, it will expand to see a list of existing network and select “create a new network”.
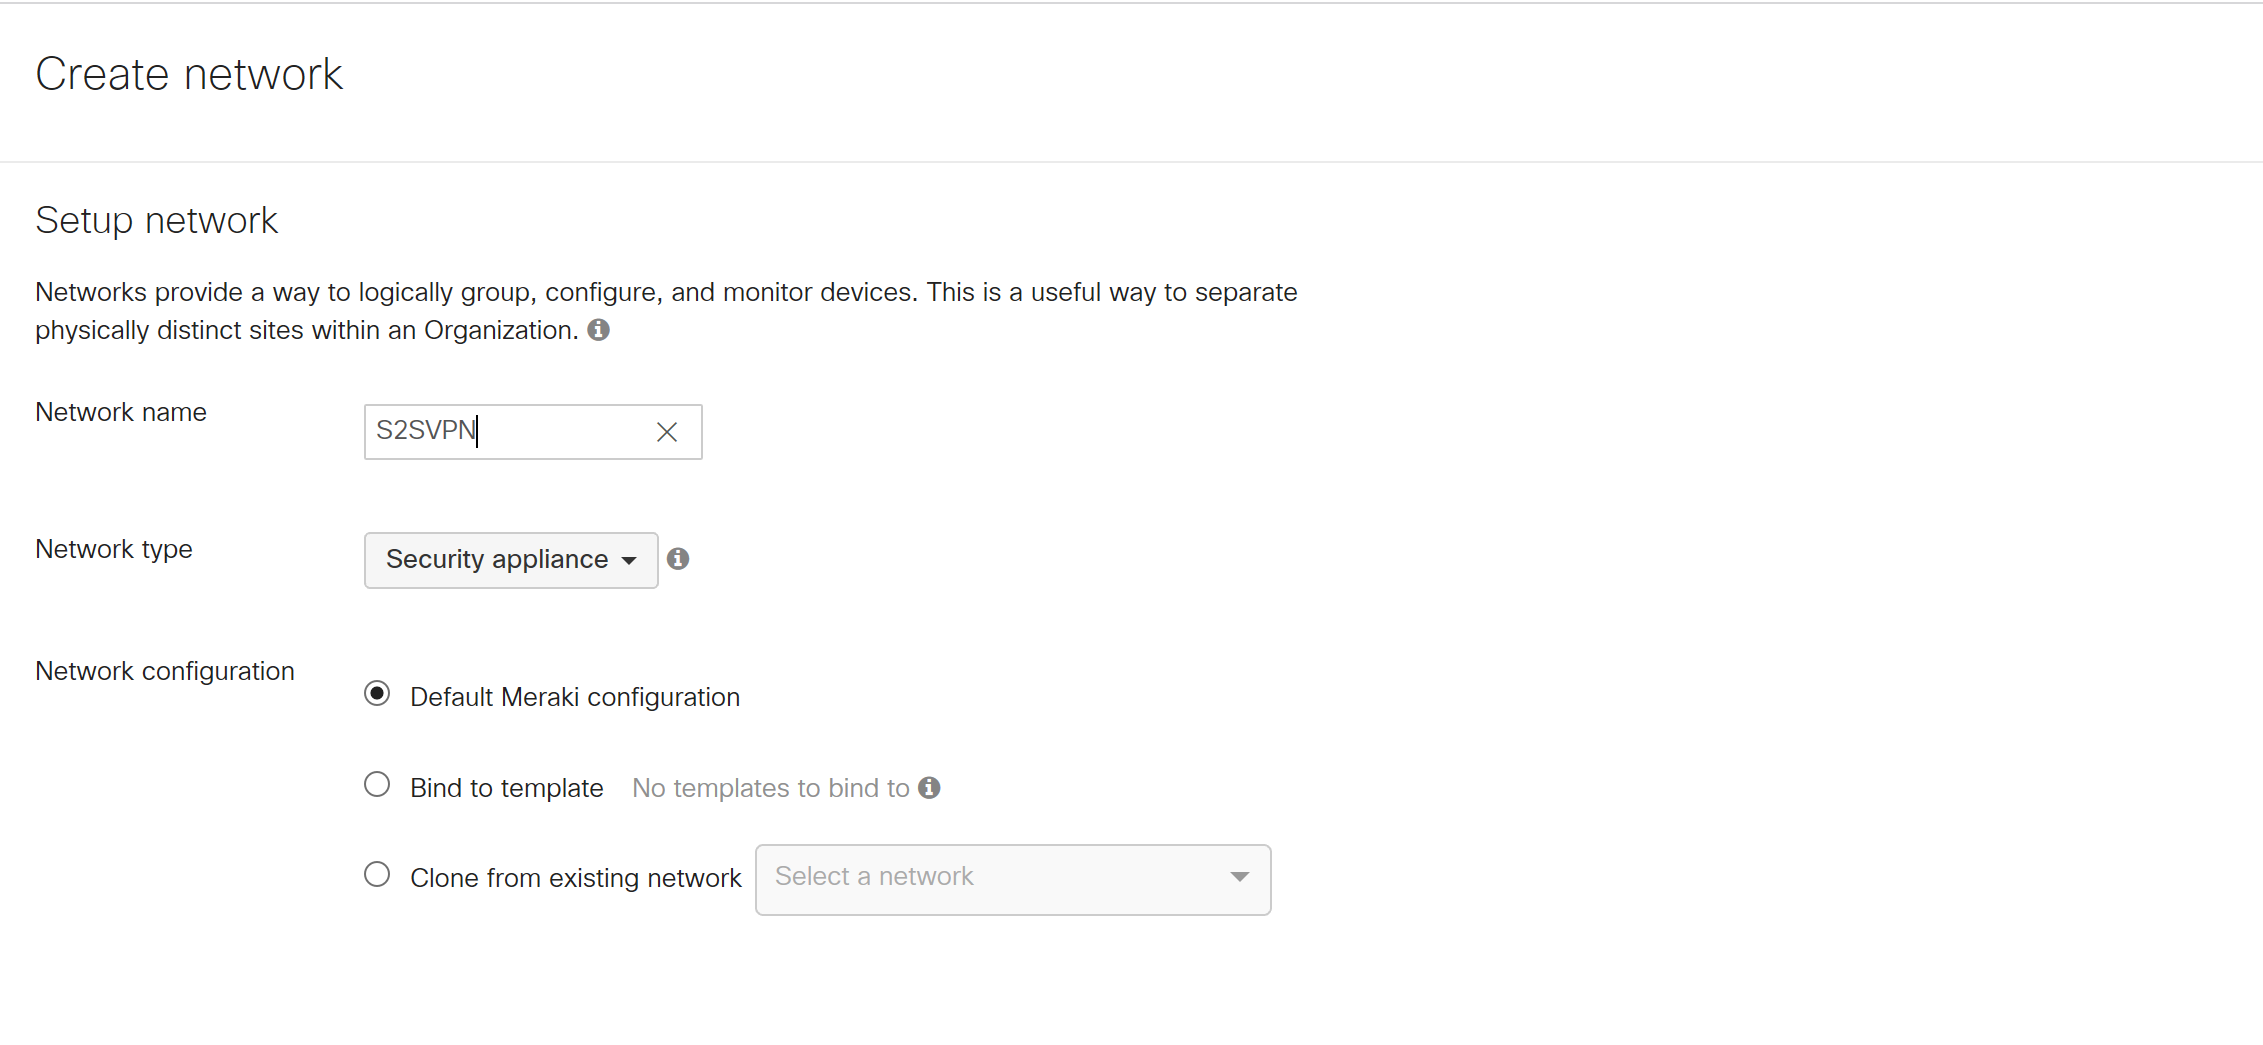
- Enter a network name, set the network type to security appliance and then click on the create network button.
- Once you created your network you will be able to add the vMX to the newly created network.

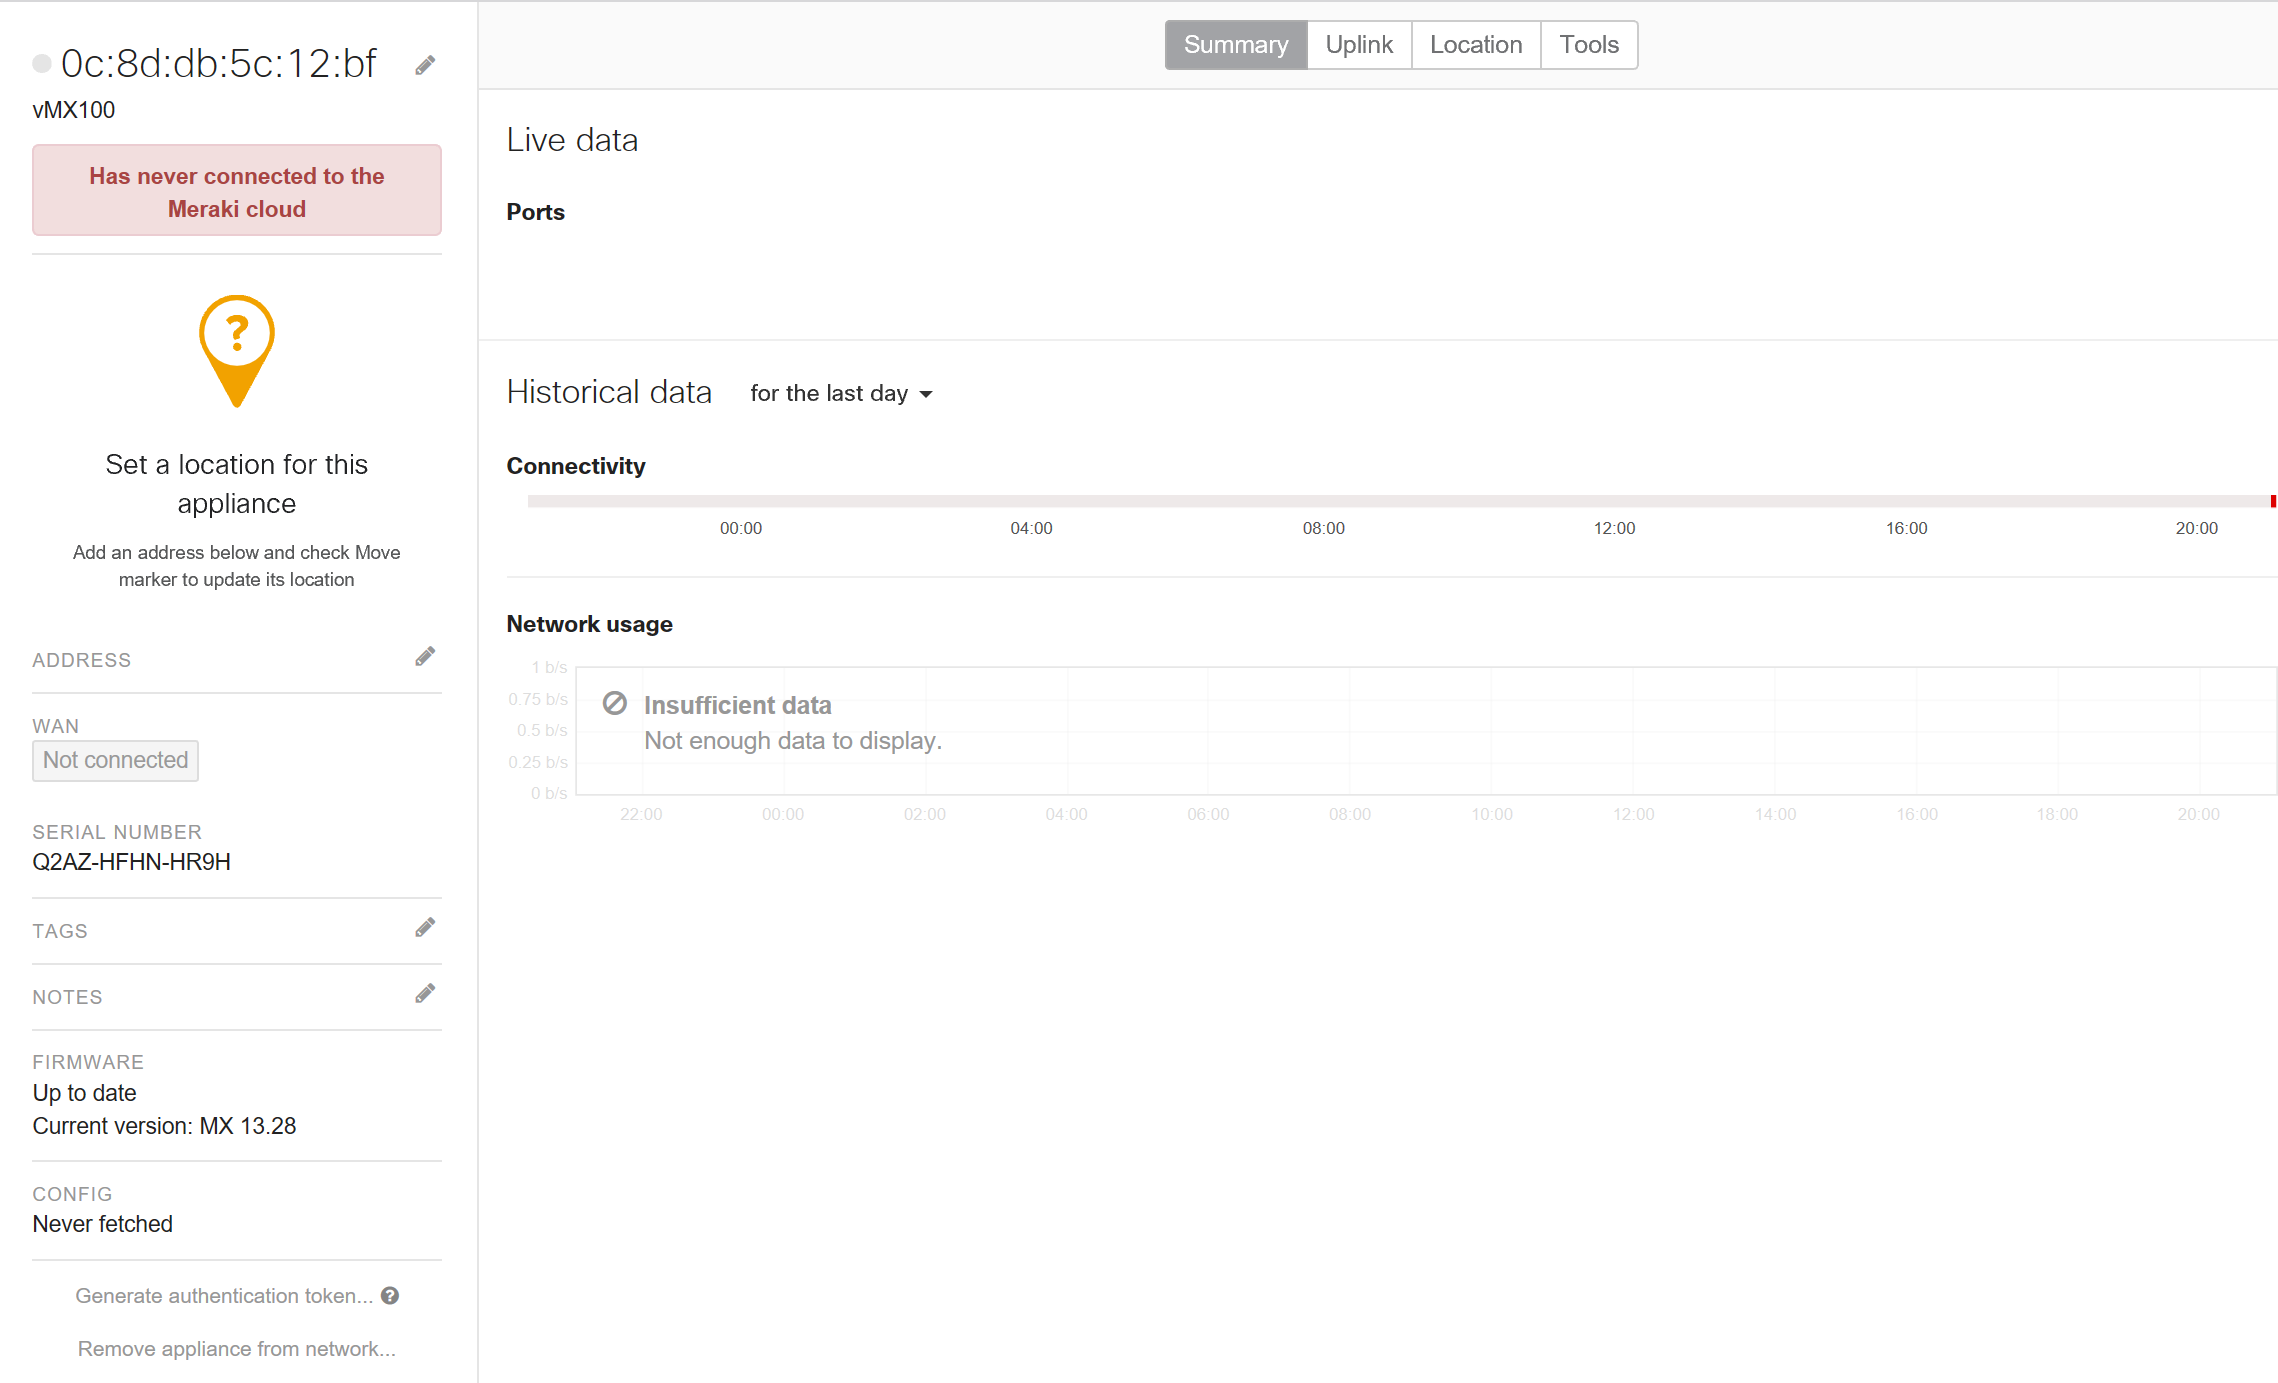
- After it’s added to your network, you will need to “Generate authentication token”. The token will be used when you perform your vMX deployment in Azure.
Steps prior to deployment in Azure
PLEASE READ BEFORE YOU DEPLOY
Deploying directly the Cisco Meraki vMX100 from the Azure Marketplace will result in the deployment of a Managed Application resource in the resource group and the actual deployment of the vMX100 into a read-only resource group. To ensure you can successfully operate the vMX100 in the future, it is highly recommended that you create the virtual network.
- Create networking resource group and virtual network
Azure deployment steps
- Select + Create a resource on the upper, left corner of the Azure portal.
- In the search box, type vMX100, hit Enter and select the Cisco Meraki vMX100.
- Click Create.
- Enter a VM name, Meraki Authentication Token (previously generated in the Meraki dashboard), resource group and location. Click Ok.

- Select the appropriate virtual network, subnet and vm size. Click Ok.
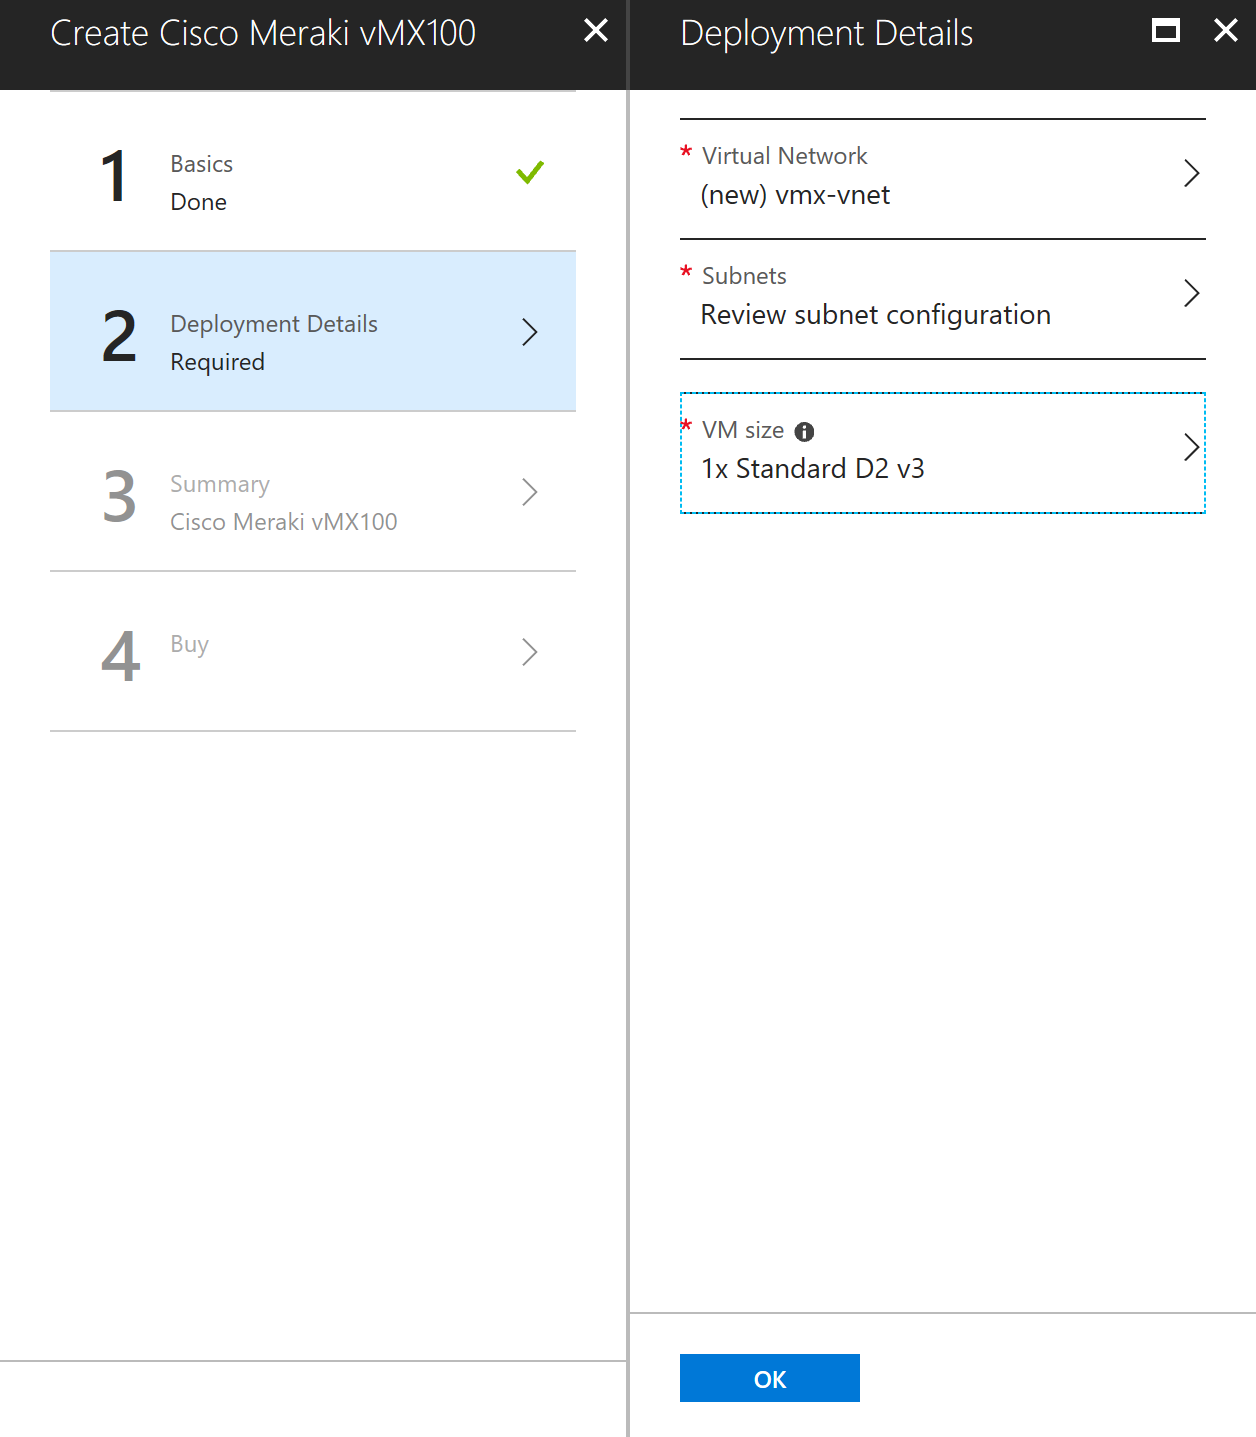
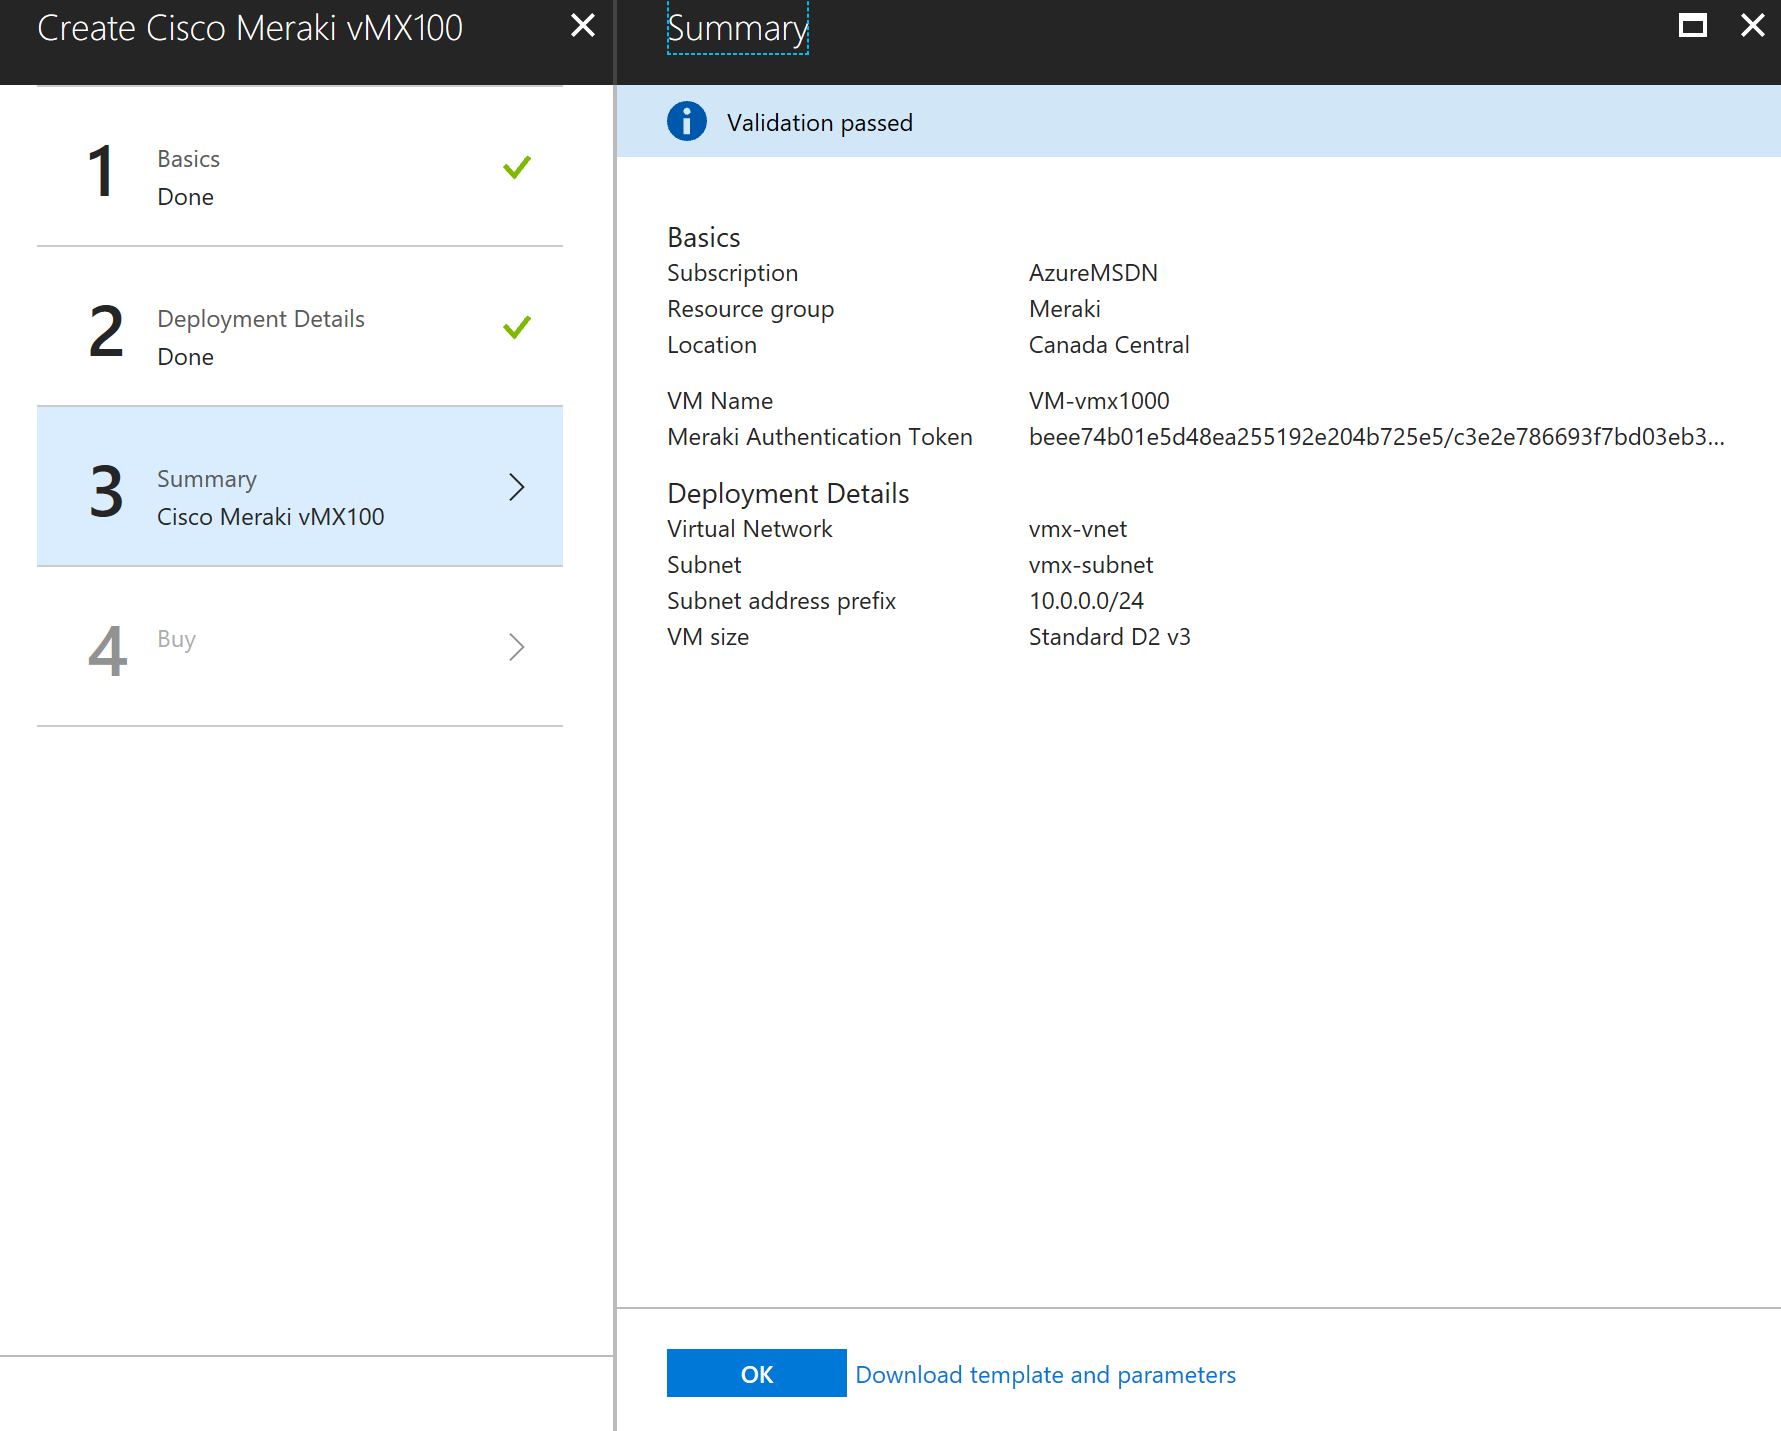
- Once validation has passed, click Ok.
- Review the terms of use and privacy policy, click Create.

Configure Auto VPN
- Verify that the vMX100 is showing online in the Meraki Dashboard
- After verification is complete, go back to the Azure portal.
-
- Select + Create a resource on the upper, left corner of the Azure portal.
- In the search box, type Route table, hit Enter and select the Route table from Microsoft.
- Click Create.
- Enter a VM name, resource group and location. Click Create.
- Once the Route Table is creating, we will open it and add a route.
- Enter a Route name, Address prefix (this is your on-premises network), next hope type as Virtual Appliance and next hope address as the IP address of your vMX100.

- Last Step, under subnets, associate the subnet where the vMX100 was created.
Conclusion
The Cisco Meraki vMX100 is a great and easy to configure network virtual appliance that provides Auto VPN between on-premises locations and Azure. Also if you have a multi-cloud implementation with Azure and AWS this makes things a whole lot easier to configure and manage.